Examination
The examination is based on a group of activities, and these activities may vary depending on the selection of the "Process Template." In this section, the Examiner provides all the necessary information across multiple activities. The examination can be carried out once the Planning section has been completed.
Once all the required activities under the examination results are completed, the user can complete the Examination Result group activity by clicking on the "Complete" button, which will then open the Engineer Review.

📄 Generating Report Preview
Users can generate a report preview by clicking the "Preview Report" button. Once triggered:
- The Report Preview section will appear on the screen.
- The generated report will be available for Download within this section.
- To check the current status of report generation, users can click the "Check status" button.
- If any errors occur during report generation, they will also be displayed in this section for further action.
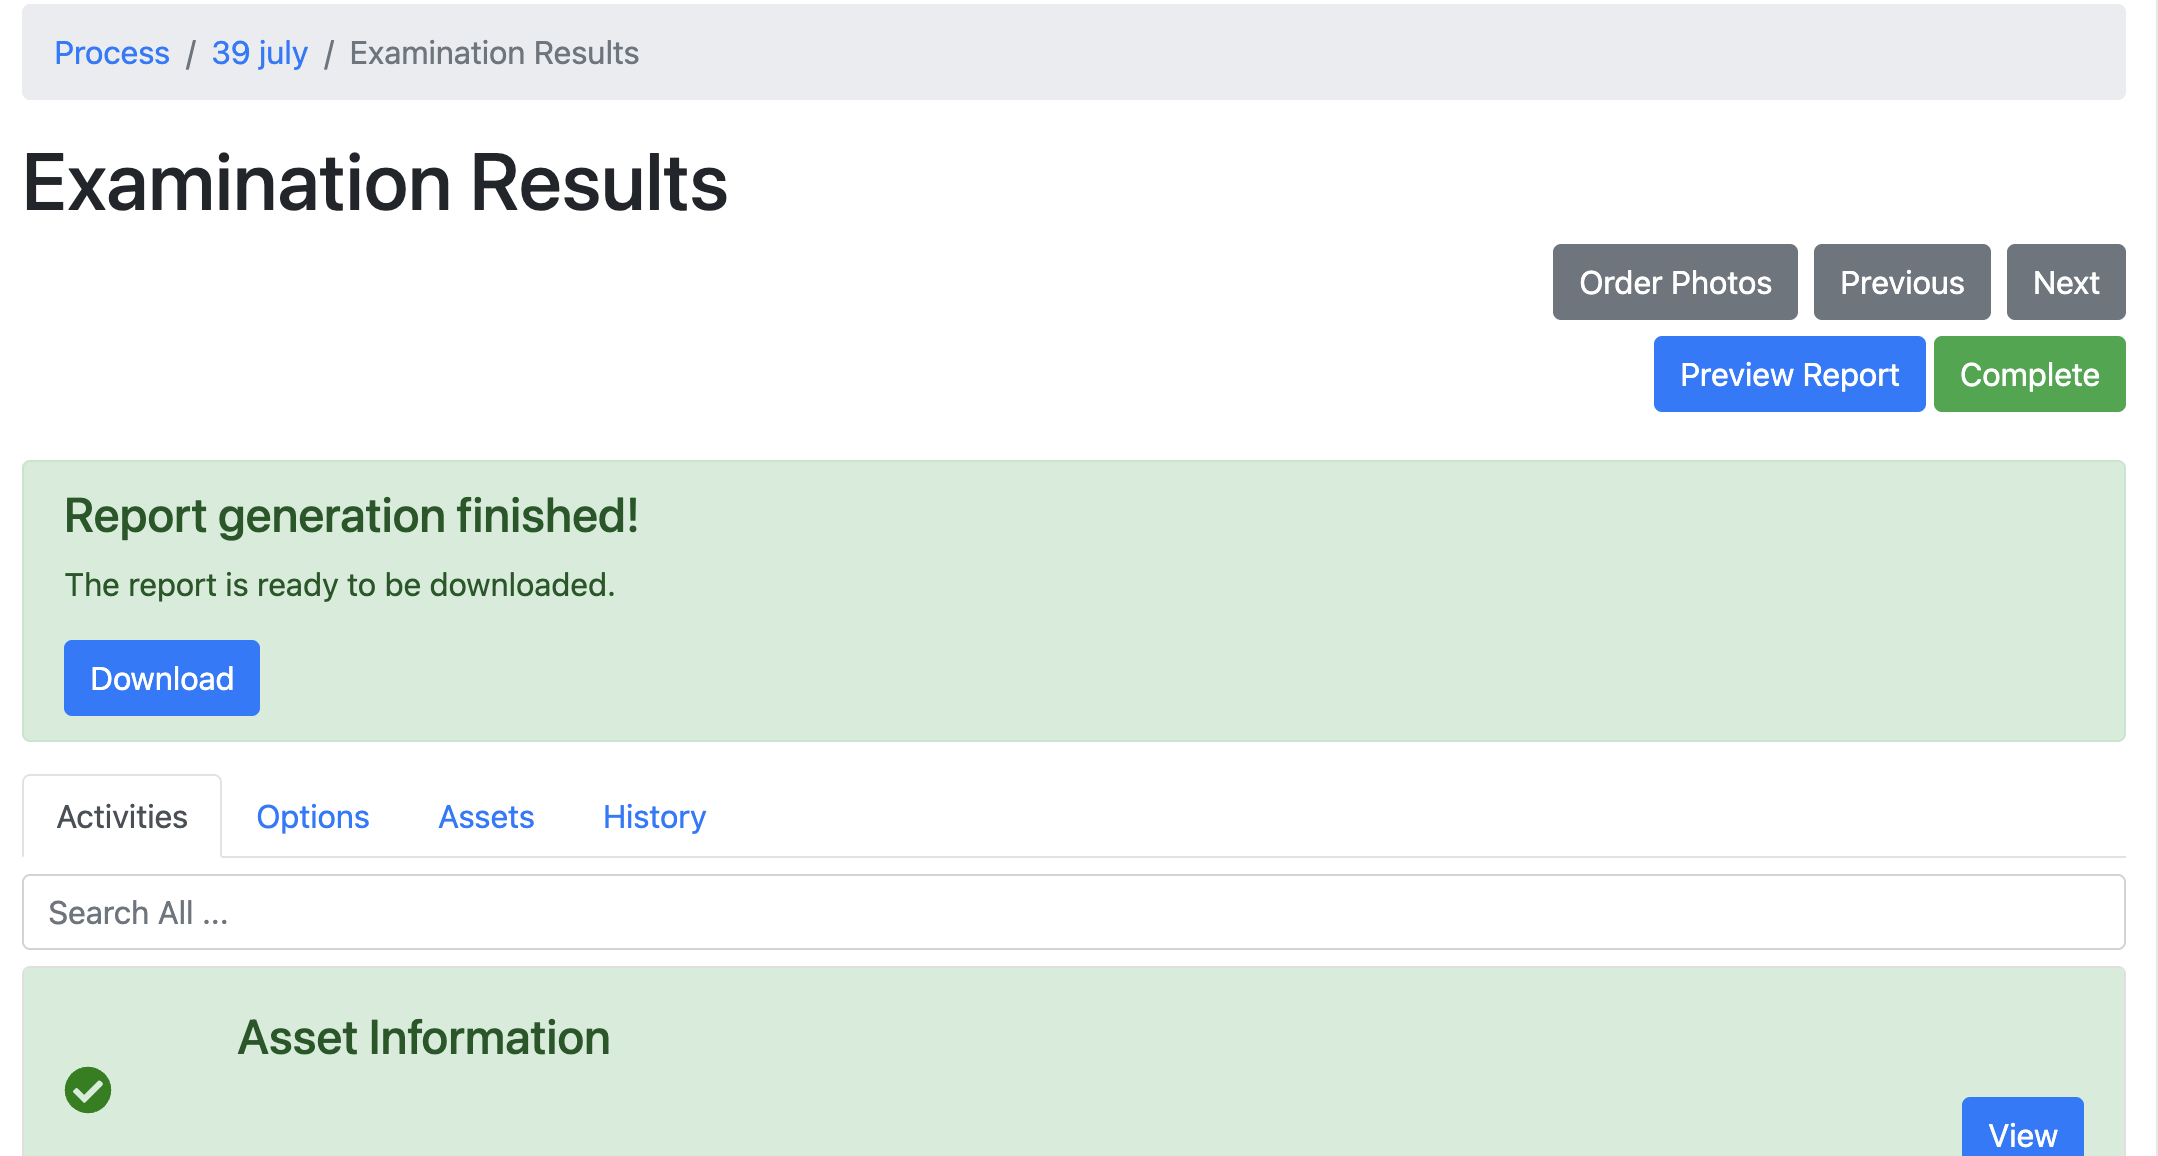
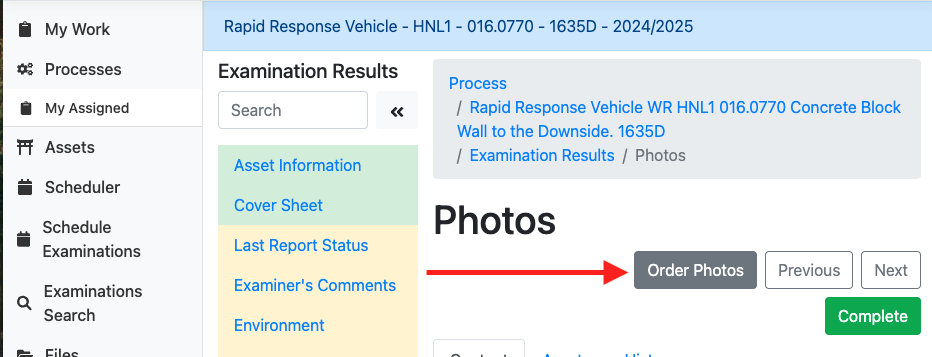
Photo Ordering
Examiners are able to preview and set the order of photos as they appear in the generated report PDFs. This can be accessed from the "Order Photos" button.
Users can reorder the images in the grid by dragging and dropping each row in the photo grid using the three horizontal line icon as shown in the image below. Once happy with the order, clicking "Save" will save the order. The plus icon (+) can be used to show a larger image to help with ordering.
Once an order has been selected any new images added to forms will be added to the end of the order to preserve the image order.
Images removed once given an order will cause subsequent images to have their order altered. A warning message as shown below will notify the user.
A default ordering can be applied by using the "Reset" button.

Activities
Asset Information
The Examination activity contains multiple activities, including "Asset Information" activity. To view or enter the Asset Information, the examiner must click on the appropriate activity.

By default, the Asset Information activity auto-populates with all the information attached to the asset. However, the examiner can still open the Asset Information activity and update any non-required fields if necessary.
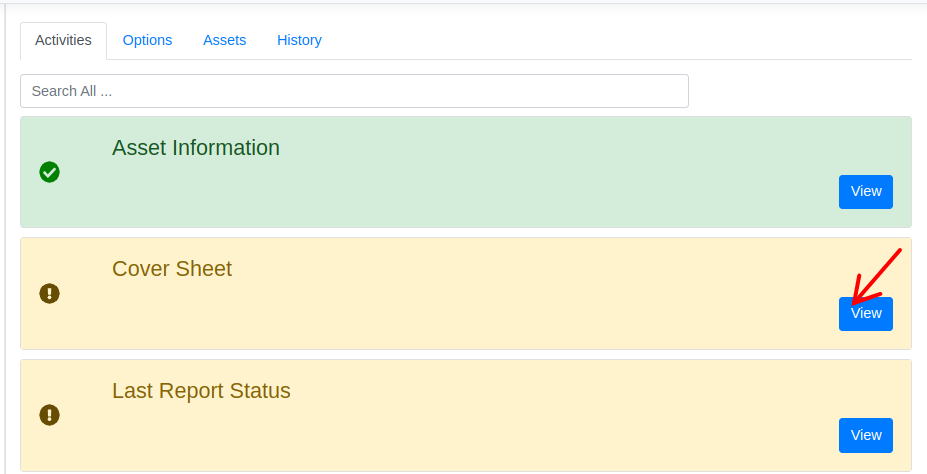
Cover Sheet
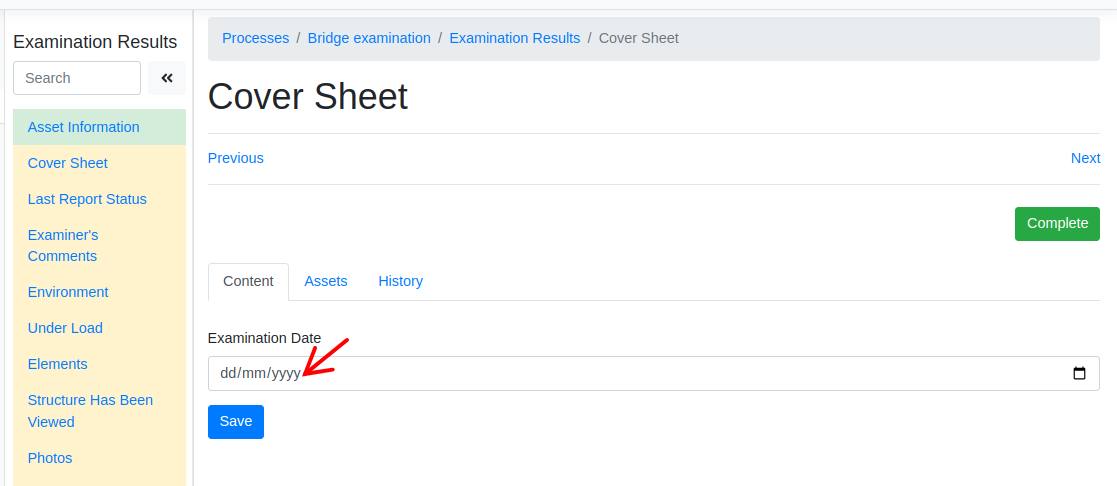
To view or enter the Cover Sheet, the examiner must click on the appropriate activity.
In this activity, the examiner is required to provide the examination date.
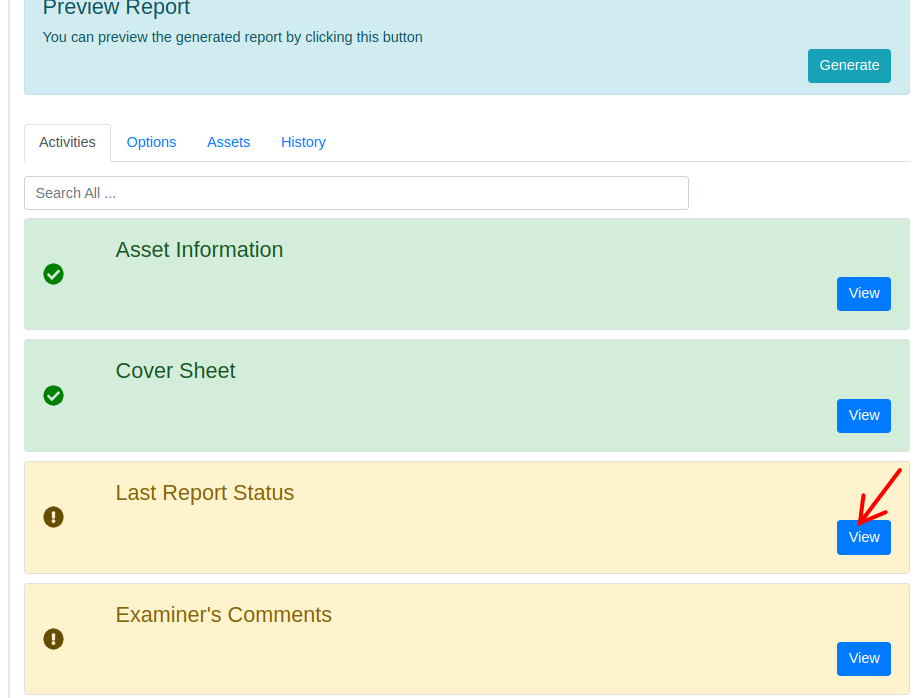
Last Report Status
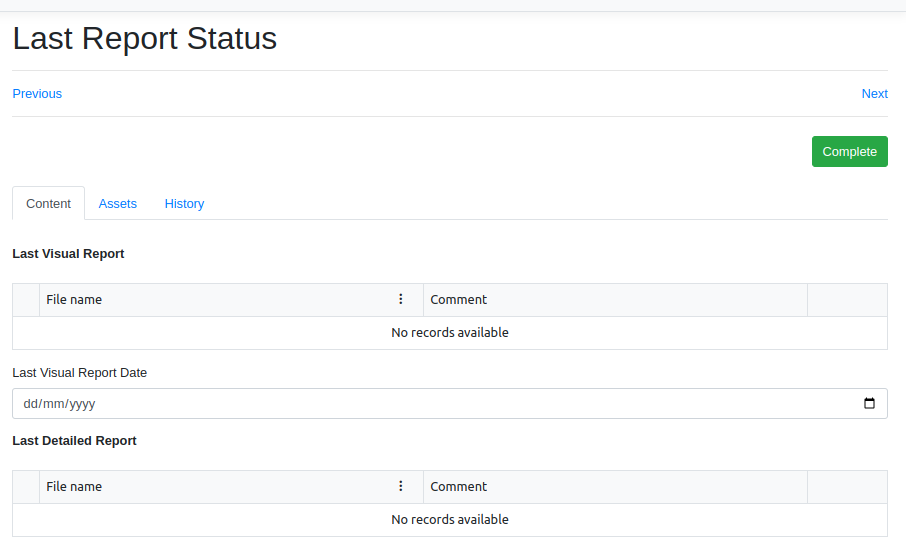
To view or enter the Last Report Status, the examiner must click on the appropriate activity.
In this activity, the Examiner can access the most recent Visual and Detailed reports for the attached Asset. Furthermore, the Examiner is responsible for inputting additional details, including the Last Detailed Exam Status and Past Report Statement. Depending on the selection made, certain fields will be designated as mandatory fields.
Examiner's Comments
To view or enter the Examiner's Comments, the examiner must click on the appropriate activity.

In this activity, the Examiner must select the Examiner Comments. Depending on the chosen Examiner Comments, the necessary fields will appear dynamically. When a report is generated an image (JPG) of the Examiner's signature will be created from their Name.

Environment
To view or enter the Environment, the examiner must click on the appropriate activity.

In this activity, the Examiner needs to choose the pertinent Environmental Factors. Depending on the selections made, certain fields will be marked as mandatory. Furthermore, the Examiner has the choice to attach photos if they desire.

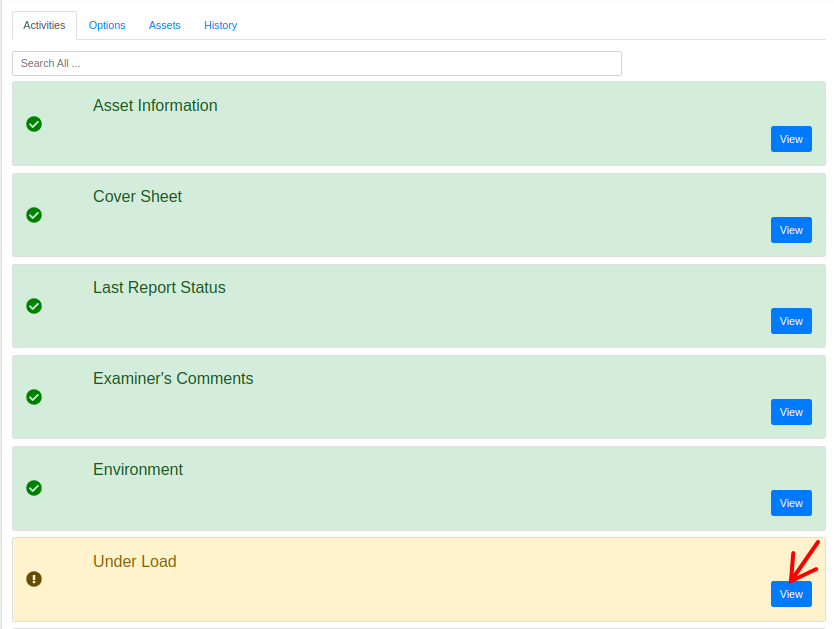
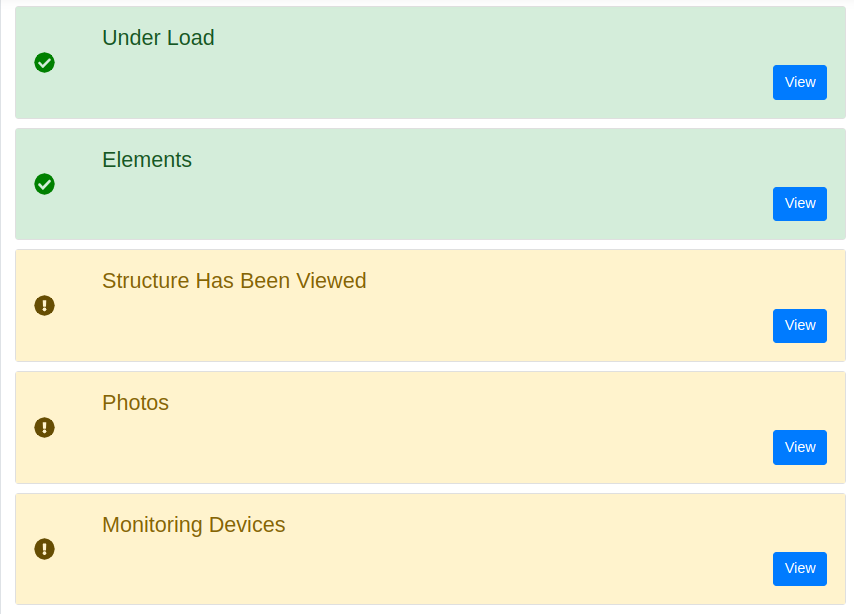
Under Load
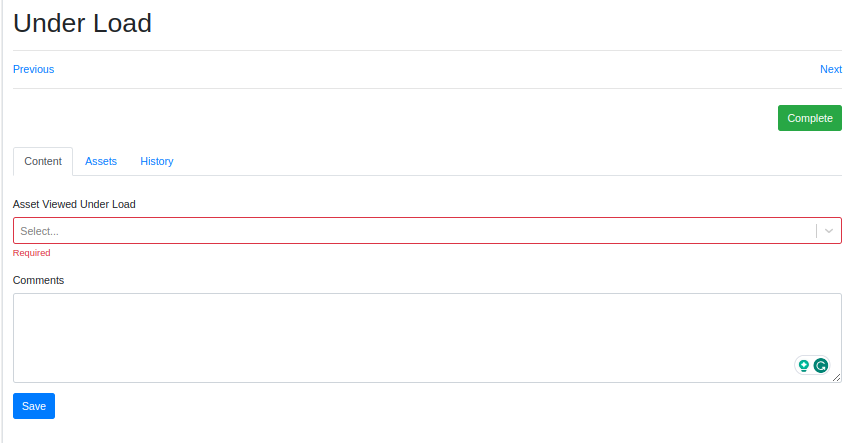
To view or enter the Under Load, the examiner must click on the appropriate activity.
In this activity, the Examiner is required to select the Asset Viewed Under Load. Depending on the choices made, the fields will dynamically appear.
Elements
To view or enter the Elements, the examiner must click on the appropriate activity.

In this activity, most of the fields are initially defaulted to "Not Applicable." Nevertheless, if the Examiner wants to make updates tailored to their specific needs, they have the option to do that.

Structure Has Been Viewed
To view or enter the Structure Has Been Viewed, the examiner must click on the appropriate activity.
In this activity, the Examiner needs to choose whether all the structure has been viewed. Depending on the selections made, the corresponding fields will appear dynamically.

Photos
To view or enter the Photos, the examiner must click on the appropriate activity.

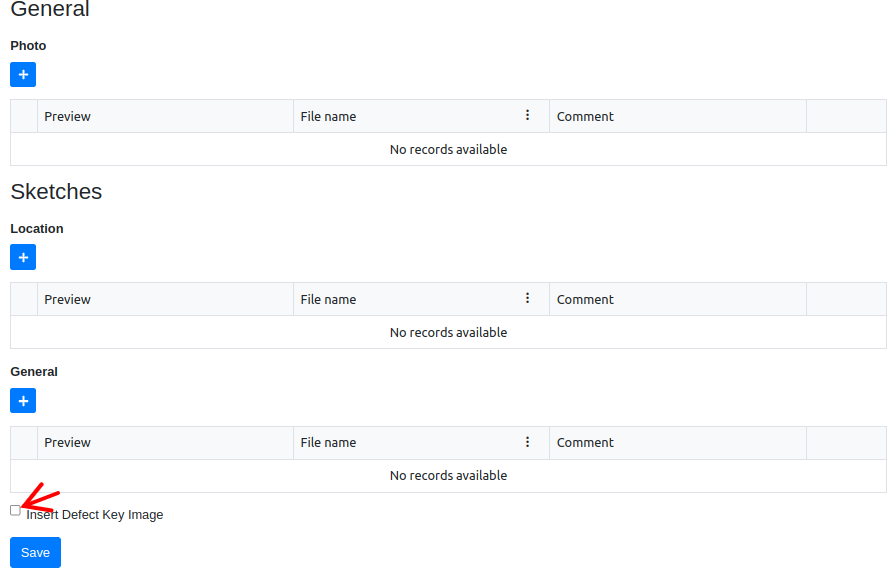
In this activity, the Examiner must upload photos for various fields, such as Elevations, Top-Side, and others.

If the Examiner intends to include the Defect Key Image in the PDF Report, they need to check the "Insert Defect Key Image" checkbox.
Monitoring Devices
To view or enter the Monitoring Devices, the examiner must click on the appropriate activity.

In this activity, the Examiner must input information into fields like Date Tabs, Plumbing Points, and Avongards. Additionally, they have the choice to upload photos.

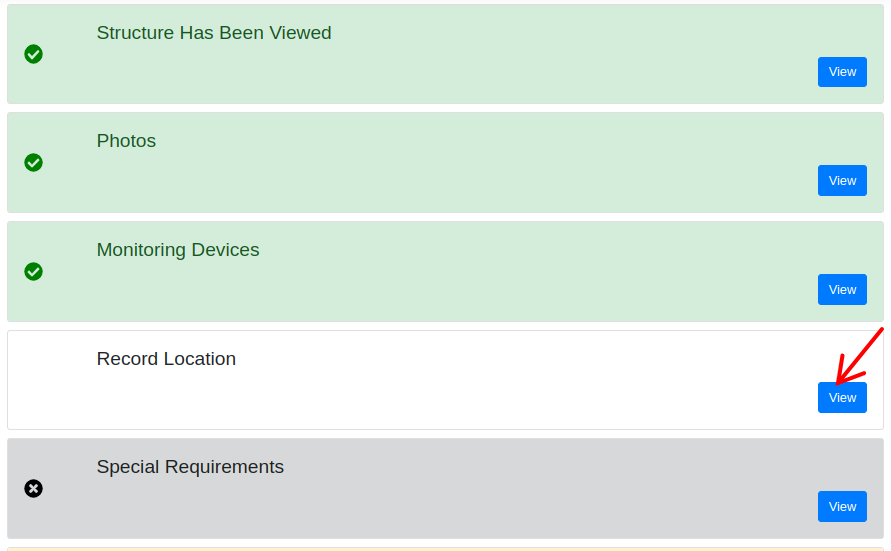
Record Location
To view or enter the Record Location, the examiner must click on the appropriate activity.
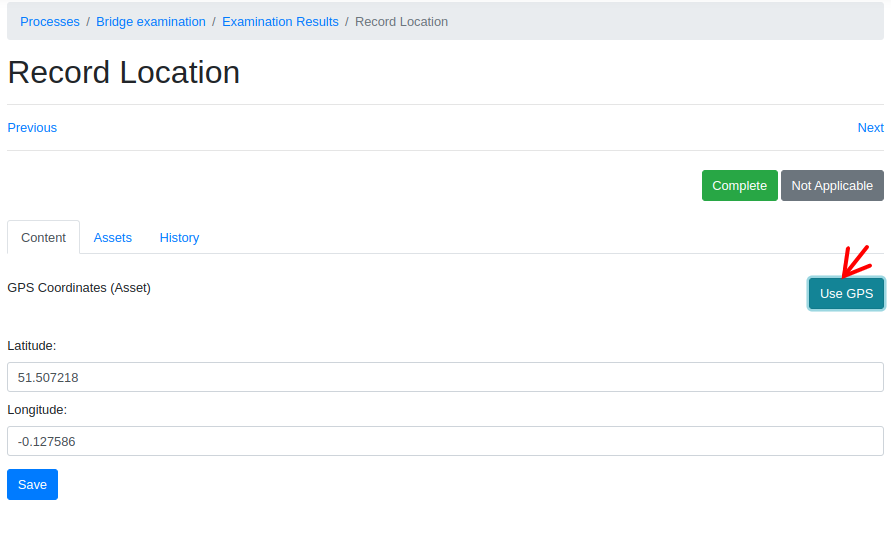
In this activity, the Examiner can choose to record GPS coordinates or, if it doesn't apply to the situation, mark it as "Not Applicable."

If the user wants to enter live GPS coordinates, pressing the "Use GPS" button will populate the coordinates.
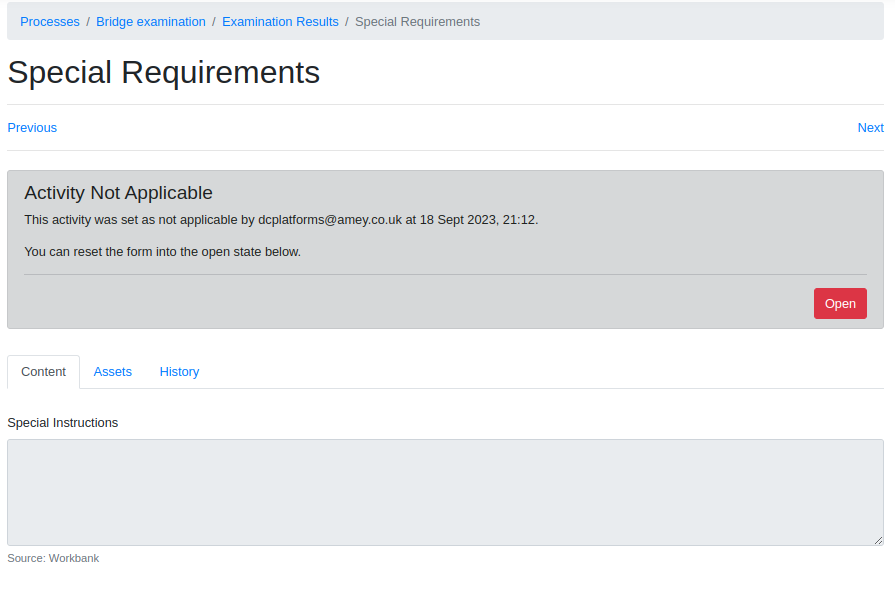
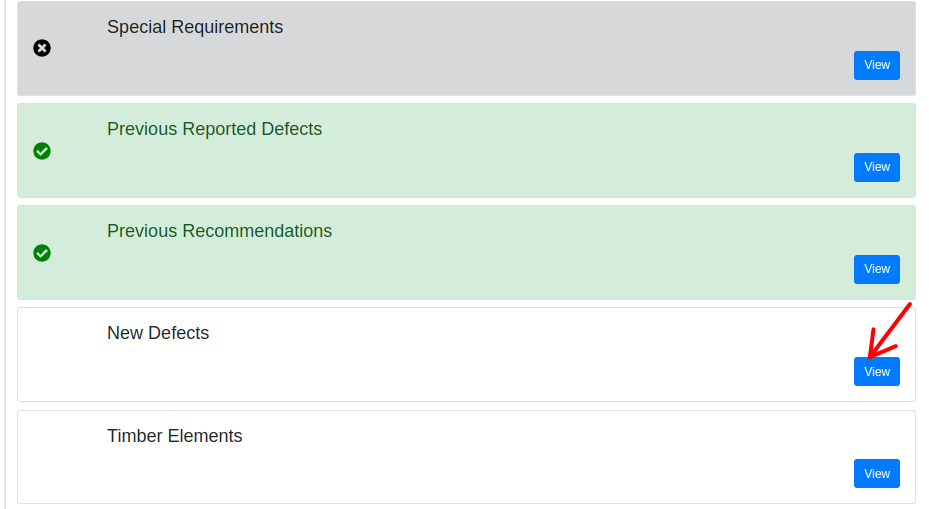
Special Requirements
To view or enter the Special Requirements, the examiner must click on the appropriate activity.
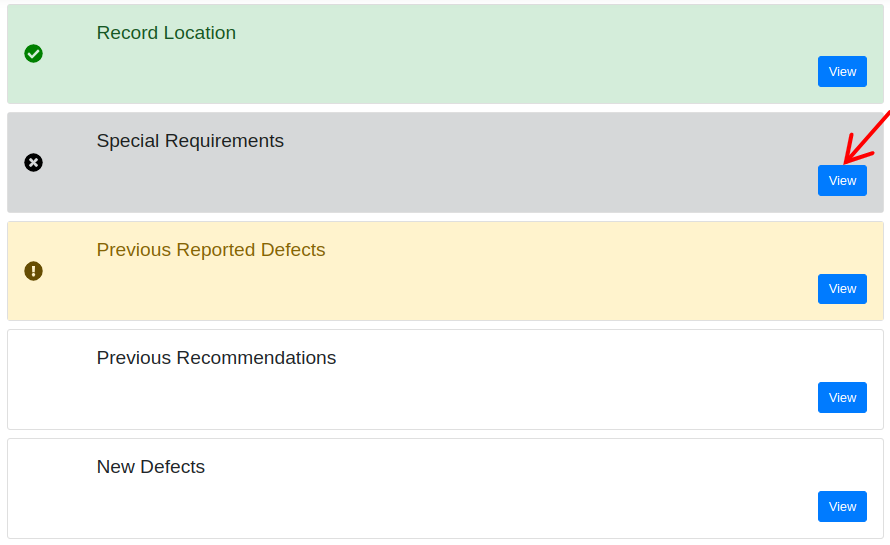
This activity is initially set to "Not Applicable" by default. Additionally, within this activity, the Special Instructions field is automatically filled with supplementary information from the "Planning" section.
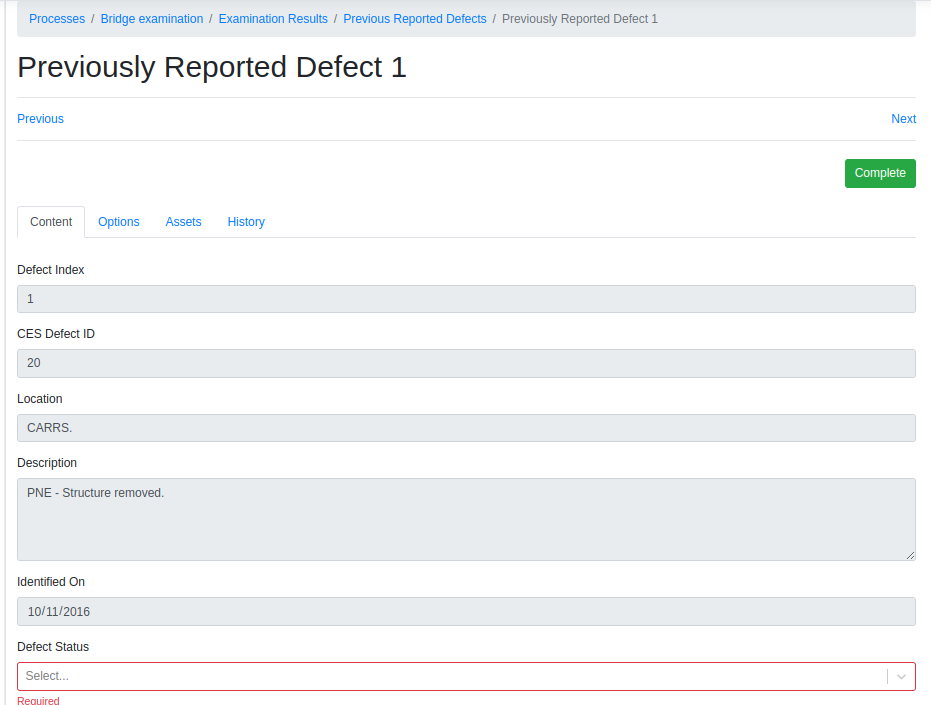
Previous Reported Defects
To view or enter the Previous Reported Defects, the examiner must click on the appropriate activity.

In this activity, any previously reported defects associated with the Asset will be automatically populated. The Examiner will have the capability to review all open defects.
The examiner has the capability to refresh the previously reported defects by clicking on the 'Refresh' button.

This action will delete the existing Previous Reported Defects and replace them with the latest defects loaded from the most recent NR data.

To view or enter a specific defect, the examiner must click on the appropriate activity.

Furthermore, the Examiner is required to input the Defect Status for each defect, along with any accompanying photos and historical photos if available.
Previous Recommendations
To view or enter the Previous Recommendations, the examiner must click on the appropriate activity.
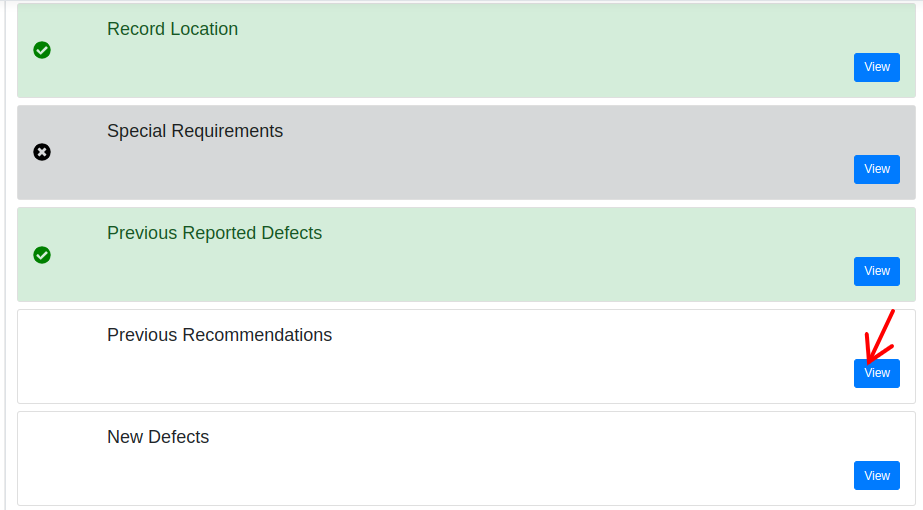
In this activity, any previously documented recommendations, whether from the last visual or detailed examination, will be automatically retrieved if they exist. The Examiner can then review all the past recommendations. Additionally, the Examiner must indicate the status for each recommendation and can choose to include comments if desired.

In the example provided above, the asset does not have any previous recommendations.
New Defects
To view or enter the New Defects, the examiner must click on the appropriate activity.
In this activity, the Examiner can create a new defect by clicking on the "Create" button.

The defects that have been created will appear under the "Activities" section.
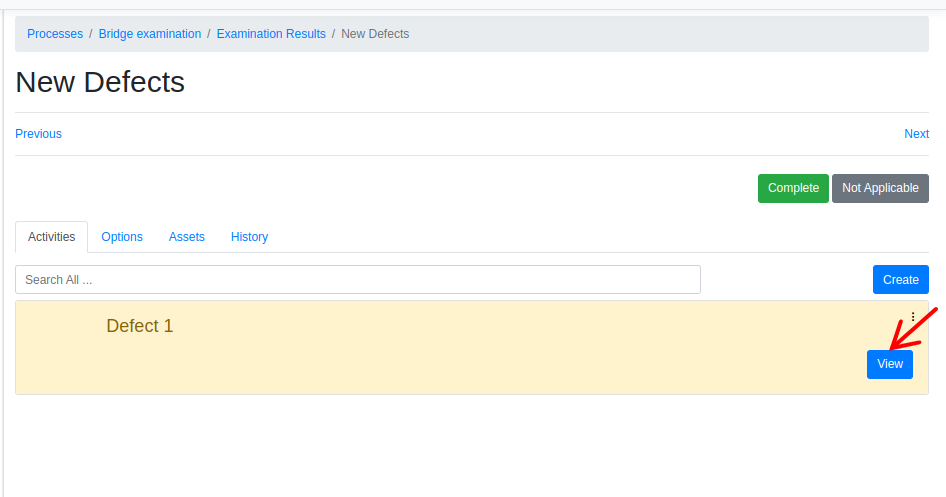
The Examiner must provide the Defect Description, specify its location, and include defect photo.

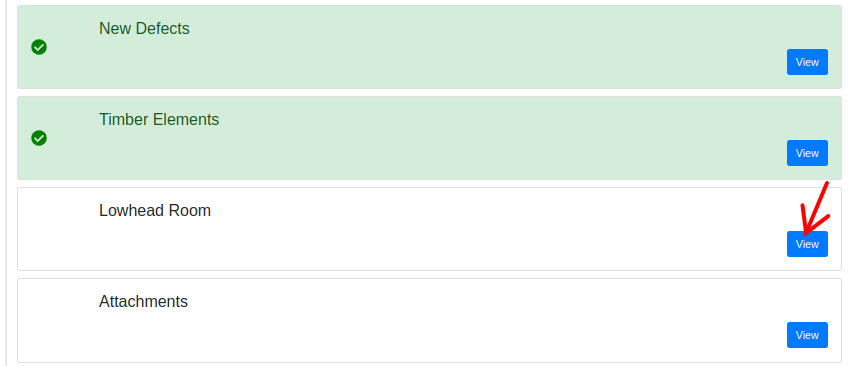
Timber Elements
To view or enter the Timber Elements, the examiner must click on the appropriate activity.

In this activity, the Examiner needs to input information into fields like "Has timber been probed?" Additionally, they have the choice to include a reason and a photo if desired.

Low Headroom
To view or enter the Low Headroom, the examiner must click on the appropriate activity.
The Examiner must provide the Bridge Type, Material Construction, No. of Decks and Road Name and there are some other optional fields examiner can provide further details if require.

Attachments
To view or enter the Attachments, the examiner must click on the appropriate activity.
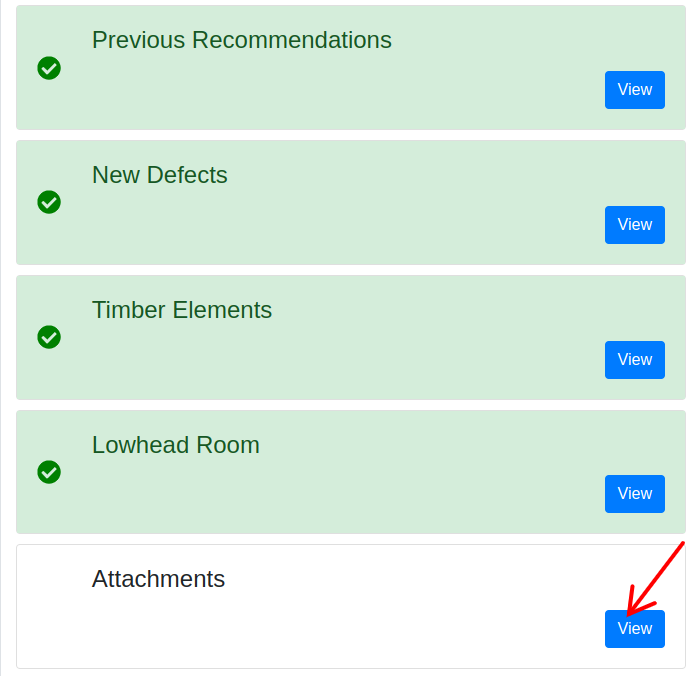
Within this activity, the Examiner has the option to attach Sketch Files and provide the BCMI PDF sheet. The attached PDF sheet will then be merged into the examination report.
